How to upcycle vintage furniture
Upcycling is a great way to create something unique and tailored to your home. That’s why we teamed up with upcycling expert Samantha Ford to share our top tips on how to upcycle vintage furniture. Samantha’s passion for upcycling started as a hobby almost 30 years ago and she now sells her pieces through her Instagram account @eliza_rose_furniture.

Remove any fixtures and fittings
Before beginning any upcycling project remove any hinges, locks, handles, or any other pieces of hardware with a screwdriver. This will make things so much easier when it comes to sanding and painting. Make sure you store these somewhere safe so you can re-attach these later.
This is also a good time to give these fixtures and fittings a good clean. There are several methods you can use to do this which include using products from around your home, such as vinegar, salt, and baking soda. However, before you start make sure you know which material you are working with as using something too abrasive could cause permanent damage.
“I always take off the hardware and hinges where possible and store them in a pot. This gives a much neater finish and saves having to scrape off any smudges at a later date” says Samantha.
Prepare the surfaces
This is often the most time-consuming part of an upcycling project, but it’s key in ensuring that you get the best finish. Sanding is often the best way to prepare a wooden surface, but always go in the direction of the grain to avoid scratches. Medium and fine grades of sandpaper are generally recommended for upcycling furniture.
Again, before you start, identify what material you are working with to prevent causing permanent damage to the wood. Furniture with a veneer finish usually needs to be handled with a little more care, often not to expose the chipboard or plywood underneath.
“Preparation is so important when upcycling an item of furniture. I always sugar soap the wood before beginning and fix any broken or wobbly bits. If you have a clean, sturdy item of furniture it makes it far more pleasurable to upcycle” adds Samantha.
Choose your finish
If you are trying to restore your item to its original state, you can apply an oil or stain with an old rag to give it a polished look. Alternatively you may choose to give your piece of furniture a completely new lease of life with some paint.
Before you start, wipe down your furniture to get rid of all traces of the sandpaper dust. If painting, apply a primer first to ensure the surface is smooth. Next you can move on to painting. Remember less is more and it’s better to apply thin coats rather than one thick coat, even though it might take longer. Using a foam roller will also give you a smoother, even finish.
“I love using paint for my upcycling projects. I’ve used lots of different types over the years but my preferred range is Frenchic as the paint is odorless and has a fantastic finish” says Samantha.
Add the final touches
Once you have applied your chosen finish, make sure you protect all your hard work by applying a wax. This not only forms a protective barrier but will also add a lovely light sheen to your furniture. There are lots of waxes available, so do your research before you pick one so that you achieve your desired look.
This is also your chance to get really creative. Lining drawers with wallpaper is a great way to add character to your piece. You could also paint the legs a different colour or add some handles to give it a modern look.
“I always use wallpaper and fabric on my upcycled projects. This allows me to get really creative and make my pieces stand out” adds Samantha.
Follow @eliza_rose_furniture on Instagram for more upcycling inspiration.
We think you'll love
-
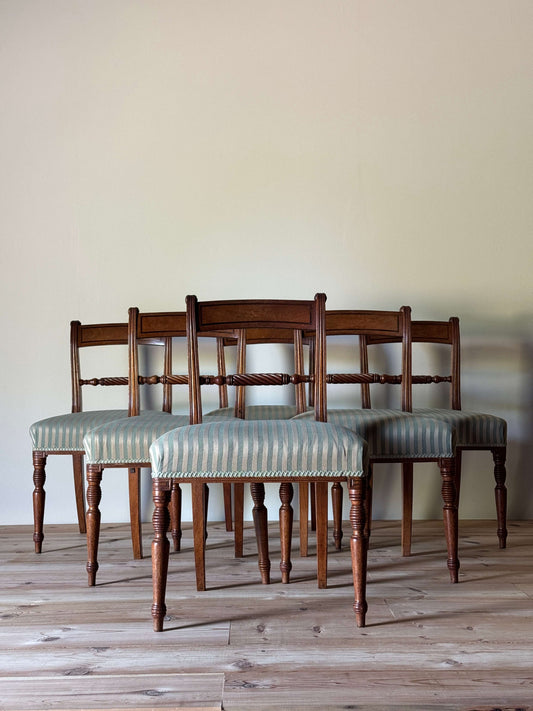
Set of six Victorian rope-twist mahogany dining chairs
Regular price £950.00 GBPRegular priceUnit price / per -
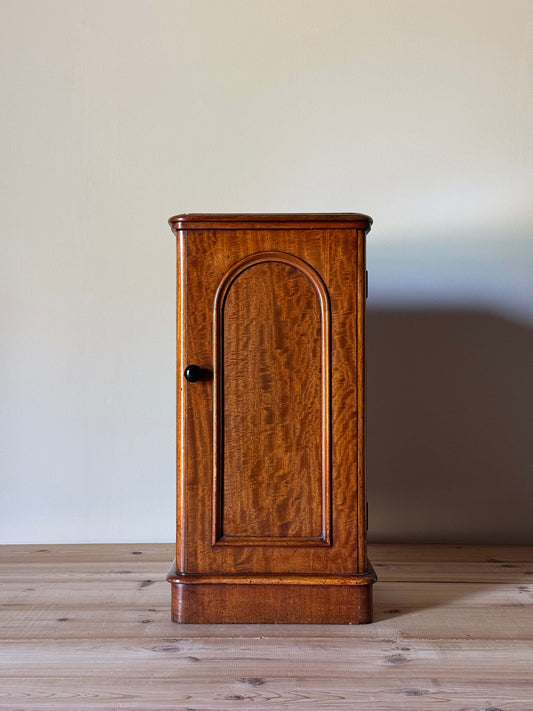
Victorian mahogany bedside cabinet
Regular price £600.00 GBPRegular priceUnit price / per -
 Sold out
Antique oak barley twist wine table
Regular price £300.00 GBPRegular priceUnit price / per -
Antique oak bobbin mirror
Regular price £400.00 GBPRegular priceUnit price / per


